A properly installed MOT Type 1 sub base of just 75mm can change a weak, unstable surface into one that supports vehicles.
Many builders and DIY enthusiasts don’t realise the impressive strength this crucial construction layer provides. A layer of sub base material between 100-150mm creates remarkable support for high-traffic areas and spreads point loads across wider surfaces. [-4]
The composition of MOT Type 1 sub base includes crushed granite, limestone, gritstone or basalt. These materials make it perfect for driveways, car parks and building foundations because of their load-bearing strength. Your project’s specific needs determine the thickness – garden paths and patios need 75-100mm, driveways and public footpaths require 100-150mm, while busy roads demand 150-225mm.
Let us share expert builder tips about MOT Type 1 in this piece. You’ll learn about common installation mistakes and how to pick the right sub base material for different projects. We’ll also help you understand installation best practises and costs to give your next project the solid foundation it needs.
Common Mistakes When Using MOT Type 1 Sub Base
Construction projects don’t fail because of what you see on the surface. The problems usually lurk underneath. At the time you’re working with MOT Type 1 sub base, certain mistakes can substantially reduce your project’s lifespan. ⚠️
Skipping the sub base layer entirely
The worst mistake you can make is leaving out the sub base layer completely. Your paving will start to move and settle without this crucial foundation. This leads to cracks, chips, and structural damage. The gaps between stones become perfect breeding grounds for weeds.
Here’s what happens if you skip the sub base:
- Your surfaces become uneven and create dangerous trip hazards
- Water starts pooling and causes more damage
- You need premature replacements that cost more in the long run
Projects that need solid foundations often fail because builders try to cut corners by skipping this vital layer. Using topsoil instead of proper sub base material guarantees future headaches.
Incorrect compaction depth and technique
The success of your sub base depends on proper compaction. Many builders try to compact too much material at once. You need to add material in layers no thicker than 75-100mm and really compact each layer before moving to the next.
Edges and corners often get missed during compaction. These areas are the first to sink or shift under pressure. The moisture level must be just right – material that’s too wet will smear and slide under the compactor plate instead of settling properly.
Using non-compliant recycled materials
Recycled MOT Type 1 might save you money, but you need to check it carefully. Low-quality recycled materials often contain contaminants that prevent good compaction. Demolition byproducts might include bits of wood, plastic, glass or metal.
Bad materials won’t compact into a firm bonded base. The surface keeps moving and never performs as it should. Cheaper options like crushed hardcore might look good on paper, but they rarely meet the specs you need for lasting construction.
Make sure you get certified MOT Type 1 material that meets the Department of Transport Specification for Highway Works, clause 803 (SHW 803).
How to Select the Best Sub Base Material
The success of any project depends on choosing the right sub base material. Project teams must base their selection on site conditions, load requirements, and drainage needs.
Comparing MOT Type 1, 2, and 3 for different soil types 🧱
MOT Type 1 combines crushed granite, limestone, gritstone or basalt that’s crushed to 40mm down to dust. This adaptable material has excellent load-bearing qualities that make it perfect for high-traffic areas like highways, car parks, and building bases.
The finer grade of MOT Type 2 (0mm-20mm) works best for commercial car parks and driveways. You’ll find it extremely effective for pathways and walkways thanks to its drainage properties.
Pure crushed limestone, granite or basalt with reduced fines content forms MOT Type 3. This material shines in areas where reduced fines help prevent drain blockages, such as equestrian spaces and sports pitches. Many engineers specify it for Sustainable Drainage Systems (SuDS) applications.
When to use cement-bound vs unbound aggregates 🏗️
Unbound granular materials stay loose after compaction and rely on natural particle interlocking. These materials give you flexibility for future changes since they can be loosened and removed easily.
Cement-bound materials create a solid mass by using binders like bitumen or cement. Engineering specifications classify these materials from weaker CBM 1 (previously called soil cement) to stronger CBM 3, 4, and 5, which people call ‘lean mix’ because they resemble concrete.
Heavy-duty applications benefit from mass concrete sub base (100-150mm thickness). While bound materials prove harder to remove later, they deliver superior strength for exceptional loads.
Permeability considerations for flood-prone areas 🌊
Fine material between larger stones in standard MOT Type 1 restricts water flow. Open-graded materials work better in flood-prone areas because their particle spacing allows improved drainage and water storage.
Permeable surfaces need deeper sub base layers of 150-200mm minimum compared to impermeable surfaces. This extra depth helps offset reduced strength when water saturates the pavement layers.
You can choose from several permeable options including 4/20 aggregate (stones 4-20mm diameter) or modified Type 3 sub base. These materials act as temporary water storage during heavy rainfall if ground absorption rates are slow.
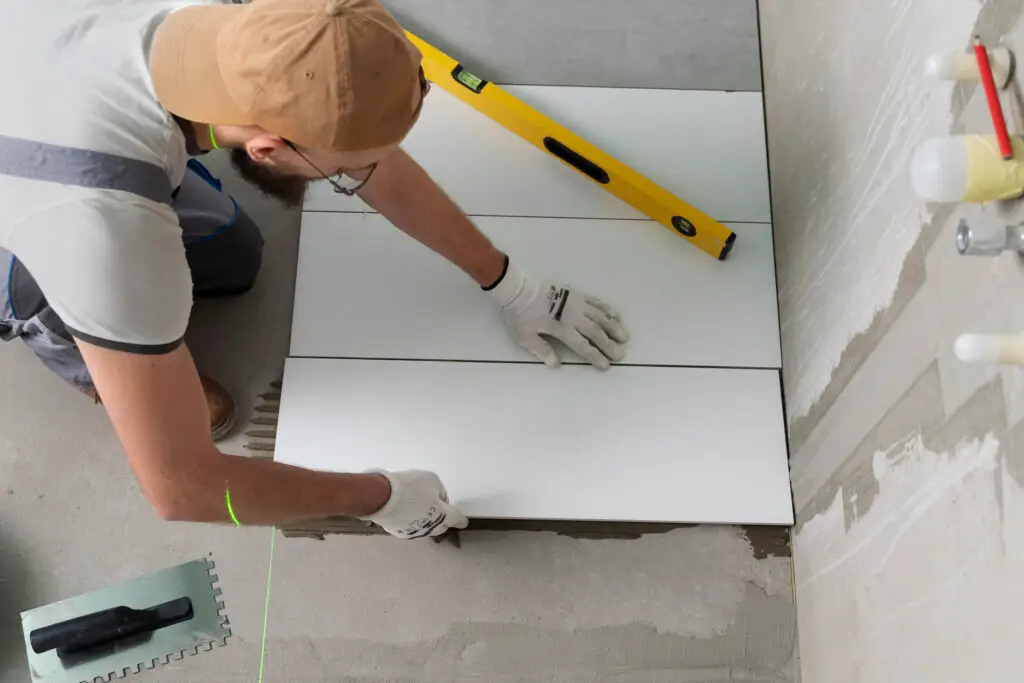
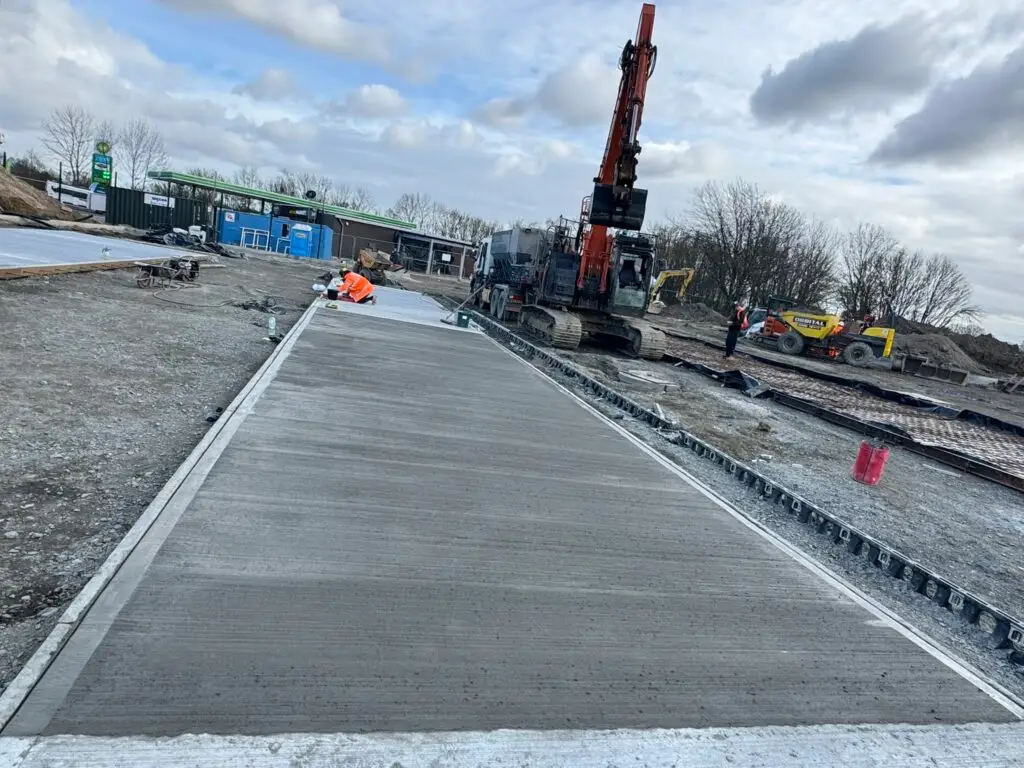
Installation Best Practises from Expert Builders

Image Source: https://pixabay.com/
🔗 Useful Links
Internal:
- Roof Tile Calculator
- Slate Roof Tile Calculator
- Roof Area Calculator
- Concrete Calculator
- MOT Type 1 Sub Base Calculator
- Paving Bed Calculator
- Excavation Volume Calculator
A solid foundation depends on proper MOT Type 1 sub base installation. Builders who know their craft use proven methods that deliver lasting results for paving projects.
Layering strategy for 75mm vs 150mm sub base 🧱
Your project type determines the right layering technique. Garden paths work well with a 75mm depth, while patios need about 100mm. You’ll need a bigger 150mm layer for driveways to handle vehicle weight. Remember – don’t try to compact everything at once!
The quickest way is to add MOT Type 1 in smaller layers—25mm increments for patios and 50mm for driveways. Each layer needs good compaction before you add the next one. This method stops air pockets that can cause settling problems later.
Visual cues for correct moisture content 💧
Getting the right moisture level is vital but often missed. The sweet spot is between 8-13% to get the best binding. You can’t easily measure this on-site, so use your eyes to check.
The MOT Type 1 should look a bit damp—not bone dry like when delivered, or too sticky. Yes, it is best to add about 150-170 litres of water per cubic metre. Let the water soak through for 24-36 hours before you compact it.
Using boning rods and string lines for level checks 📏
Boning rods are a great way to get accurate levels. These T-shaped staffs are 4000 years old but still work perfectly. The system needs three rods: two at set heights and one “traveller” rod to check levels in between.
String lines should be set at the right slope—usually 1:60 for drainage. Most pros recommend a cross-fall of 1:40 so water runs off properly.
Why geotextile membranes prevent sub base migration 🧵
Geotextile membranes do three main things:
- Stop sub base stone from coming up to the surface
- Help water drain better
- Keep the top surface from sinking down
Non-woven geotextile membranes work best in most cases because they philtre and separate better. Projects that use these membranes cost less and take less time to dig out.
Cost, Quantity and Maintenance Considerations
Your construction project’s financial success depends on accurate estimation and material selection. Good planning saves money and prevents delays that can get pricey during construction.
Using a sub base calculator for accurate ordering 🧮
You need accurate material estimation to avoid frustrating shortages and wasteful surpluses. To calculate MOT Type 1 requirements, measure your area’s length, width, and required depth. The formula you’ll need is: Area × Depth × Compression Factor × Wastage Allowance × Density.
Here’s an example for a 4m × 3m patio with 100mm sub base depth:
- Calculate volume: 4m × 3m × 0.1m = 1.2 cubic metres
- Apply compression factor (30%): 1.2 × 1.3 = 1.56 cubic metres
- Add wastage allowance (10%): 1.56 × 1.1 = 1.716 cubic metres
- Convert to tonnes: 1.716 × 1.6 = 2.75 tonnes
Note that MOT Type 1’s density varies among suppliers, from 1.5 tonnes/m³ to 2.1 tonnes/m³. You should always check the specific density before placing your order.
Cost comparison: MOT Type 1 vs concrete mixes 💰
A new MOT Type 1 installation typically costs around £50 per square metre, including excavation, sub base preparation, and simple edging. Notwithstanding that, recycled options like crushed concrete help you save money while maintaining structural integrity.
Your price depends on:
- Delivery method and distance
- Order volume (bulk discounts available)
- Material quality (virgin vs recycled aggregate)
- Regional availability
Recycled Type 1 offers an affordable alternative to primary MOT Type 1, with slight differences in appearance and particle size.
How a well-laid sub base extends surface lifespan ⏱️
Your paving’s longevity largely depends on a strong sub base. Quality sub base materials prevent subsidence and keep surfaces level over time. You’ll get these durability benefits:
- Prevention of uneven surfaces and moving blocks
- Improved drainage, eliminating water pooling
- Reduced risk of cracking and surface damage
MOT Type 1 stands out because it needs minimal maintenance after proper installation. The right installation means you won’t need regular upkeep or coating reapplication, which saves time and money throughout your project’s lifespan.
FAQs About MOT Type 1 Sub Base ❓
Q1. What is MOT Type 1 sub base used for?
MOT Type 1 is used as a compacted base layer for roads, driveways, patios, and footpaths. It provides a strong, stable foundation for paving or tarmac.
Q2. How deep should MOT Type 1 be laid?
It depends on the use:
- Garden paths: 75–100mm
- Driveways: 100–150mm
- Roads or commercial areas: 150–225mm
Q3. Do I need to compact MOT Type 1 in layers?
Yes — always lay and compact in layers no thicker than 75–100mm. This prevents air pockets and ensures strength.
Q4. Can I use recycled MOT Type 1?
Yes, but only if it meets SHW Clause 803. Avoid low-quality recycled options with contaminants like wood or plastic.
Q5. How do I know if the moisture level is right for compaction?
The material should look slightly damp — not dry and dusty, and not soggy. Around 8–13% moisture content is ideal for compacting.
Q6. What’s the difference between MOT Type 1, 2 and 3?
- Type 1: General purpose, best for strength
- Type 2: Finer material, good for drainage paths
- Type 3: Reduced fines, perfect for SuDS or flood-prone areas
Q7. How much MOT Type 1 do I need?
Use a sub base calculator to find the exact tonnage based on your area size and depth.
Q8. Can I use MOT Type 1 under resin-bound surfaces?
Yes, but it must be properly compacted and possibly overlaid with an asphalt or concrete binder layer depending on spec.
Conclusion
🏗️ This piece explores how MOT Type 1 sub base plays a significant role in construction projects. Without doubt, this versatile material turns weak surfaces into stable foundations that support substantial loads, even at modest thicknesses. Your project’s longevity depends more on these hidden layers beneath driveways, patios and roads than what you see on the surface.
⚠️ Common mistakes lead to most project failures when builders skip the sub base, use wrong compaction techniques, or non-compliant materials. Your construction work will stand the test of time when you understand these pitfalls clearly. A rushed job versus a properly installed sub base shows its effects within months, not years.
🧱 Your specific project requirements determine the right material choice. MOT Type 1 works great as an all-rounder, but Type 2, Type 3, or cement-bound aggregates might suit certain situations better. Projects in flood-prone areas need modified specifications that allow better drainage and water storage capacity.
📏 Professional builders follow systematic installation practises. They layer material correctly and maintain optimal moisture content. Traditional tools like boning rods help check levels, while geotextile membranes prevent migration. These techniques turn simple aggregate into a professional-grade foundation effectively.
💰 Money matters need equal focus. You save time and money with accurate material calculations. Virgin and recycled materials’ cost comparison offers savings without quality loss. A properly installed sub base costs more upfront but extends your paving’s lifespan, making it more economical over time.
🛠️ You can now tackle your next construction project confidently with these insights. The fundamentals of MOT Type 1 sub base will give your work solid ground—whether it’s a garden path, driveway, or commercial space. Note that your project’s ability to withstand time, weather, and daily use ended up depending on what lies beneath