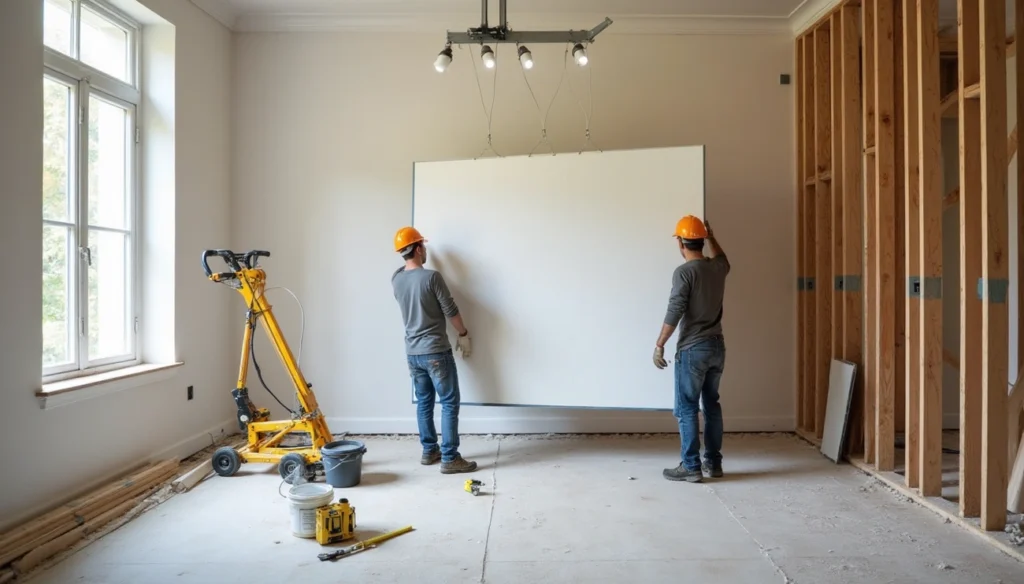
You can save a fortune on labour costs by installing plasterboard yourself, though it’s a bit tricky as a DIY job.
Most beginners struggle with a basic question – should they start with walls or ceiling? The good news is that plasterboard work is available to everyone, from homeowners to pros alike. The right sequence makes a huge difference to your end result.
Drywall has taken over from the old lath and plaster methods since the 1940s. The reason is simple – it’s super affordable at just $7 for a standard 4 x 8 panel. But even with such cheap materials, you need solid planning and proper execution to fit plasterboard right.
This piece walks you through the complete plasterboard installation process and answers that vital question about walls versus ceiling priority. You’ll also learn about the tools you need, proper techniques, and ways to avoid common mistakes during your home installation. Let’s make your space amazing!
🔗 Useful Internal Links for Plasterboard Installation
Should You Plasterboard Walls or Ceiling First?
The DIY community and professionals often debate a vital question – should you start with plasterboard walls or tackle the ceiling first? Your choice doesn’t just affect how you work. It can make a real difference to your project’s quality and how long it lasts.
Why ceiling-first is usually recommended
Most professional installers swear by putting up the ceiling first. This tried-and-true method has proven itself time and again.
We started with the ceiling because it gives you better structural integrity. The walls help hold up your ceiling boards when you put them in later. This cuts down the chances of sagging or movement as time goes by. Gravity becomes your friend with this method – wall boards press against ceiling boards to keep everything nice and tight.
The corners look better too. Ceiling-first lets you push those wall sheets right up against the ceiling. You end up with tight, clean joints that need very little filling. The spot where walls meet the ceiling looks much smoother this way.
Fire safety gives us another good reason to start up top. This method stops vertical gaps that could let fire heat up ceiling joists directly. It also helps when you’re taping – the walls underneath support your taping compound as it dries, so you don’t get those ugly bumps.
When wall-first might be better
The ceiling-first approach works best most times, but sometimes you’ll want to start with the walls.
Rooms that get lots of moisture, like kitchens and bathrooms, might need a different approach. Small gaps can show up between walls and ceiling after things settle if you put the ceiling up first. These gaps let moisture sneak behind your plasterboard.
Sometimes it’s easier to reach everything if you do walls first. This really helps in rooms with odd shapes or sizes. Some installers find it easier to line everything up properly in unusually shaped rooms too.
Your timing might depend on when electrical and plumbing work happens. You might need to board the ceiling, wait for your electrician to finish the wiring, then do the walls.
How it affects fitting and finish
The order you choose changes both how you install and how everything looks at the end.
Ceiling-first gives you some real advantages with the finish. Board seams blend better, and the whole room looks smoother. You don’t need to be quite as precise with your cuts above the wall panels as you would with the other method.
Starting with walls can cause problems. Ceiling boards might not have support along entire wall lengths, which could lead to trouble later. The seams where walls meet the ceiling tend to stand out more too.
Your choice really shows up in the taping work. Corner compound dries better with ceiling-first, giving you cleaner lines with fewer bumps. This might seem like a small detail, but it makes a big difference to the final look, especially in rooms that get lots of natural light.
Tools and Materials You’ll Need
The right preparation is the foundation of any soaring win with plasterboard projects. Whatever you tackle first – walls or ceiling – having the right equipment ready will give a smooth installation and professional results.
Essential tools for plasterboard installation
The right tools make all the difference when you’re fitting plasterboard. You’ll need basic measuring gear – a tape measure, pencil, and chalk line to mark your cutting lines. A spirit level (at least 1200mm long) will keep your boards hanging straight.
A sharp utility knife with spare blades works better than a saw to create clean edges. You’ll also need a straightedge or T-square to guide your cuts, and a surform plane to smooth any rough edges.
You’ll need a cordless drill/driver with the right screwdriver bits to fix boards. A hammer and nail punch might come in handy based on your fixing method. Ceiling work becomes much easier with a plasterboard lift – this tool holds boards against the ceiling while you secure them. It’s a real game-changer if you’re working alone.
The finishing touches need a jointing knife (75-100mm), a wider taping knife (150-200mm), and mixing buckets for compounds. Add a sanding block with fine-grit sandpaper to smooth those joins perfectly.
Types of plasterboard and where to use them
Standard plasterboard (9.5mm or 12.5mm thick) works great for most interior walls and ceilings in dry areas. The 12.5mm version gives better sound insulation and fire resistance – perfect for walls between rooms.
Kitchens and bathrooms need moisture-resistant plasterboard (usually green-coloured) to stop mould and deterioration. Pink fire-resistant boards contain glass fibres that slow down fire spread, making them ideal for kitchens, boiler rooms, and garage ceilings.
Acoustic plasterboard works wonders in bedrooms, home offices, or media rooms where you need to keep noise down. Thermal boards with built-in insulation help cut energy bills, especially on external walls.
Standard boards come in 1200mm x 2400mm, though tapered-edge boards might be slightly different. These create recessed joints that are easier to finish. Measure your wall/ceiling area and add 10% extra for waste to calculate what you need.
Safety gear and preparation materials
Your safety comes first in any plasterboard project. Always wear a dust mask while cutting to protect your lungs. Good gloves will save your hands from sharp edges, and safety goggles are vital when you’re working overhead.
You need a solid platform or support tower to reach ceilings safely – balancing on chairs or wobbly surfaces is asking for trouble. Heavy boards need either a helping hand or mechanical lifting aids to protect your back.
The job needs the right fixings – 32-42mm drywall screws for wooden studs, or special self-drilling screws for metal frames. You’ll also need joint tape (paper or mesh) and jointing compound to finish up. On top of that, it’s worth having PVA adhesive or specialist plasterboard adhesive if you’re using the dot and dab method.
Clear out furniture, lay dust sheets, and make sure you’ve got good airflow before you start. Good lighting helps spot any problems, and extension leads bring power where you need it. With everything ready, you can start your plasterboard installation, whether you’re beginning with walls or ceiling.
How to Install Plasterboard on Ceilings

Image Source: The Carpenter’s Daughter
Ceiling plasterboard installation can be tough during renovation, but DIY enthusiasts can achieve professional results with the right approach.
Measuring and marking joists
Your first vital step is to identify ceiling joists. You can locate joists by measuring gaps in the loft for upstairs rooms. Downstairs rooms need careful prodding with an awl or checking the floor above. Clear chalk lines on adjoining walls will mark joist positions and guide your installation.
Visible joists in new ceilings need accurate measurements. Multiply the room’s length and width to find square footage. This helps you buy the right number of boards without waste.
Cutting and lifting boards safely
Precision matters when cutting plasterboard. Start by measuring and marking your board. Place a spirit level along the line and score the paper deeply with a sharp utility knife. Bend the board backwards against the cut and slice through the paper on the reverse side for a clean break.
Lifting boards to ceiling height can be risky. Working with a partner works best – one person supports while the other fixes. Solo workers should:
- Use a mechanical plasterboard lift
- Create a “dead man” prop (timber cut about 50mm longer than ceiling height)
- Install temporary supports around room edges
Fixing boards with screws or nails
Use 38mm drywall screws to secure plasterboard, placing them every 150mm along joists. Keep fixings at least 13mm from cut edges and 10mm from factory edges. Screws provide better hold than nails and won’t disturb existing joists.
Watch your screw depth. Stop when the screw head sits just below the board surface. Deep screws damage the paper facing and weaken the board’s strength.
Board edges meeting walls might need extra support. Install 50mm×50mm wooden noggings between joists to create solid fixing points.
Staggering joints and leaving gaps
A stronger ceiling structure needs staggered board placement. This prevents cracks from running across the room. The staggering improves fire and acoustic performance since joints can be weak points. Standard boards should have 600mm horizontal and vertical stagger.
Keep 3mm gaps between adjacent boards. These gaps let joint filler penetrate well and create stronger seams.
Taping and jointing ceiling seams
Cover all joints with perforated plasterboard tape after installation. Mix joint filler to a smooth, stiff consistency as per manufacturer instructions. Fill between joints and screw indentations with a wide-bladed applicator.
Multiple thin layers work better than one thick coat. Cover the tape fully and feather out edges with a wide taping knife. This reduces sanding later. Let it dry and sand the surface lightly with fine-grit sandpaper until smooth. Your ceiling will be ready for decoration.
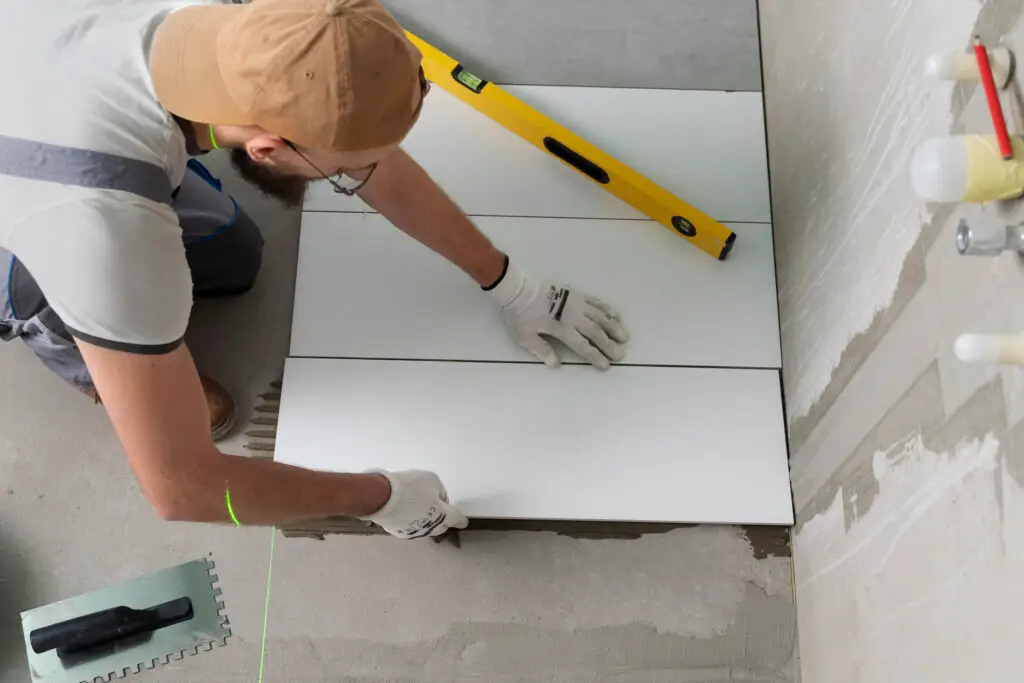
How to Install Plasterboard on Walls
You’ve finished the ceiling installation, now it’s time to work on the walls. Putting up plasterboard on walls is easier than overhead work. You still need precision to get that professional finish.
Choosing between dot and dab or stud fixing
Your wall’s construction will determine how you fix the boards. Brick or block walls work great with the dot and dab method. You won’t need to build any framework. Just apply adhesive dabs straight to the masonry. This creates a small gap between the wall and board.
Timber frames and partition walls work better with screws or nails for better stability. Stud fixing is your best bet for upper floors. It puts less weight on ground level structures. Both methods have their good points. Adhesive goes up faster, but mechanical fixing gives you better security where there’s lots of traffic.
Preparing the wall surface
Good preparation leads to strong adhesion. Clean masonry walls really well to get rid of dust and debris. These walls soak up moisture from adhesives, which can weaken the bond. To curb this, put on a coat of PVA mixed with water. Make sure you follow what the manufacturer says.
Concrete surfaces don’t soak up moisture well. A specialist grit coating might be what you need. Check timber or metal studs for any sticking-out nails or screws before you start.
Applying adhesive or fixing to studs
Mix your plasterboard adhesive until it’s thick and creamy. It should hold its shape after you put it on. Put dabs about every 200-300mm in a grid pattern. Heavier boards just need more dabs to hold the extra weight.
Stud fixing works best with screws placed 150mm apart along edges and 300mm apart in the middle. Push screws in just enough to break the paper surface. Don’t crush the plaster. Start with the bottom row for horizontal boards and stagger those vertical joints. This gives you better structural strength.
Positioning and levelling boards
Your first board sets the standard for all others. A spirit level helps you get that perfect vertical line. Uneven walls? Add extra adhesive in the low spots to level things out.
Press hard against those dabs when using adhesive. You want full contact with the wall. With mechanical fixing, mark where your studs and noggins are on the board. This makes screw placement easier.
Leaving expansion gaps and sealing edges
Leave a small gap between floor and plasterboard. This lets things move and keeps moisture away. Standard installations need about 15mm. Ground level might need more to stop damp problems.
Ceiling-wall joints need tight fitting to prevent cracks. Keep 3-7mm between boards for joint filling. Run adhesive around board edges. This stops insects from nesting behind panels and supports edges where damage happens most.
Finishing Touches and Common Mistakes to Avoid
Your plasterboard project’s final phase makes all the difference in achieving a professional look. A proper installation of all boards sets the stage for those finishing touches that will change raw surfaces into walls you can decorate.
Filling joints and screw holes
You need seamless transitions between boards, and proper joint filling gets you there. Mix your joint compound until it has a smooth, creamy consistency. Use a wide filling knife to apply a thin layer over joints, then press paper joint tape into the wet compound right away. This step helps prevent future cracks. A smaller putty knife works best to fill screw holes – make sure each indentation gets completely filled.
Several thin layers work better than one thick coat. Let each layer dry before you add the next one, and gradually widen the application area as you feather the edges outward. Don’t forget to fill gaps between sheets. The pros suggest leaving ⅛-inch spacing between boards. This allows for the building’s natural movement.
Sanding for a smooth finish
After fillers dry, you’ll need to sand everything smooth. Pick up some fine-grit sandpaper (150-220 grit) for this finishing work. Make circular motions rather than straight lines to avoid visible sanding patterns. Here’s a pro tip: hold a bright light at an angle to your wall. This shows any spots that still need work.
Be gentle with sanding – you don’t want to damage the surface or expose the paper facing. Give all surfaces a good wipe with a microfibre cloth to remove dust before you start painting.
Avoiding over-screwing and misalignment
The biggest problem with plasterboard installation is over-screwing. This happens when screws go in too deep and damage the board’s surface, which weakens their hold. If you spot an over-screwed spot, just add another screw nearby to keep things sturdy.
Poor alignment causes headaches too. Mark your stud positions clearly before you start and stick to the carpenter’s golden rule: measure twice, cut once. Space your fasteners evenly to keep boards from bowing or sagging.
Tips for painting or skimming after fitting
New plasterboard needs a mist coat (watered-down emulsion) to seal its porous surface before painting. This key step stops uneven absorption that would leave patchy spots in your decoration. If you’ve made repairs, let all fillers dry and sand them smooth before you prime.
Take a good look at all surfaces under bright light before you decorate. You’ll see imperfections much more clearly after painting. The time you spend on prep work now will save you lots of hassle later.
Conclusion
Installing plasterboard is a rewarding DIY project that saves you money on labour costs and reshapes the scene of your living space. Starting with the ceiling has become the standard approach, and with good reason too. Sometimes you might need to begin with walls instead, depending on your situation. Without doubt, both methods need proper preparation, the right tools, and close attention to detail.
Your success with plasterboard installation depends on more than just the order of work. You need to pick the right board types for each area, ensure strong structural support through correct fixing methods, and finish joints like a pro. On top of that, it’s crucial to stay safe throughout the project to protect yourself and your investment.
The little details ended up making all the difference between DIY and professional results. Take your time to fill and sand joints properly. Don’t over-screw the boards, and get your surfaces ready correctly before decorating. With patience and the techniques covered in this piece, you’ll create smooth, lasting surfaces ready for paint or other finishes.
These plasterboard installation basics stay the same whether you’re working on one room or the whole house. Good planning before you lift the first board will help you avoid problems down the line. With this detailed knowledge, you can tackle your next plasterboard project with confidence, knowing exactly where to start – walls or ceiling.
Key Takeaways
Master the fundamentals of plasterboard installation to achieve professional results whilst saving substantial labour costs on your renovation project.
• Install ceiling plasterboard first for better structural support and cleaner wall-ceiling joints that require minimal filling • Use proper tools including a plasterboard lift for ceilings and maintain 3mm gaps between boards for effective joint filling • Apply multiple thin layers of joint compound rather than one thick application, then sand with fine-grit paper for smooth finishes • Avoid over-screwing boards and always apply a mist coat before painting to prevent patchy decoration on new plasterboard • Choose moisture-resistant boards for bathrooms and kitchens, whilst standard 12.5mm boards suit most interior applications
The ceiling-first approach remains the gold standard because wall boards help support ceiling boards, creating superior structural integrity and easier finishing. However, proper preparation, quality tools, and attention to detail during the finishing process ultimately determine whether your installation looks professional or amateur.
FAQs
Q1. Should I install plasterboard on the ceiling or walls first? It’s generally recommended to start with the ceiling. This approach allows gravity to work in your favour, reducing the likelihood of sagging or shifting. It also provides better structural support and creates cleaner wall-ceiling joints that require minimal filling.
Q2. What tools do I need for plasterboard installation? Essential tools include a tape measure, utility knife, cordless drill, screwdriver bits, jointing knives, and a sanding block. For ceiling work, consider using a plasterboard lift. Don’t forget safety gear such as a dust mask, gloves, and safety goggles.
Q3. How do I ensure a smooth finish when installing plasterboard? Apply multiple thin layers of joint compound rather than one thick application. Allow each layer to dry completely before applying the next. Once dry, sand with fine-grit sandpaper using circular motions. Use a bright light at an angle to spot any remaining imperfections.
Q4. What’s the best way to attach plasterboard to a ceiling? Use 38mm plasterboard screws to fix the board to the joists and noggings. Place screws every 150mm along joists, keeping them at least 13mm from cut edges. Be careful not to overtighten the screws – stop once the screw head dips just below the board surface.
Q5. Do I need to prepare the plasterboard before painting? Yes, it’s crucial to apply a mist coat (watered-down emulsion) to seal the porous surface of new plasterboard before painting. This prevents uneven absorption that would result in patchy decoration. Ensure all fillers are completely dry and sanded smooth before applying primer.