Laying slabs on soil is one of the most popular DIY landscaping projects. With some basic tools, patience, and the right preparation, you can create a pHow to Lay Slabs on Soil might sound almost too simple, but it’s a technique that has been used for generations when people wanted a path, a quick patio, or just a neat stepping-stone walkway without going through the hassle of cement, sand, or hardcore. This approach is about practicality, speed, and keeping things low-cost. You’re working with what’s already there – the soil under your feet – and giving it just enough shaping and attention so the slabs sit nicely and do their job.
Is it the strongest, longest-lasting method? No. But if you want something functional, natural-looking, and achievable in a single afternoon, learning How to Lay Slabs on Soil is the way to go.
🛠 Tools & Materials You’ll Need
Before you even think about how to lay slabs on soil, gather the basics:
- Paving slabs or stepping stones (your choice of size and style)
- A shovel or spade (for digging shallow holes)
- A string line or even a garden hose (to mark your route)
- Spirit level (so nothing ends up wobbly)
- Rubber mallet (handy, but optional – the heel of your hand or foot works too)
👉 Pro tip: Use the Paving Slab Calculator before you start. Nothing is worse than running out of slabs halfway down your garden path.
🌱 Step 1 – Planning the Path
The planning stage is where many people rush, but in How to Lay Slabs on Soil, planning is half the job done. Ask yourself: is this path straight or winding? Do I want neat rows or stepping stones? For a natural look, curve the path gently. You can use string lines for straight runs, or lay out a hosepipe on the grass to visualise curves.
Place your slabs roughly on the ground where you imagine them going. Walk the path as if it’s already finished. Are the slabs too close together? Too far apart? Adjust until it feels natural. This simple step makes the final result look deliberate instead of random.
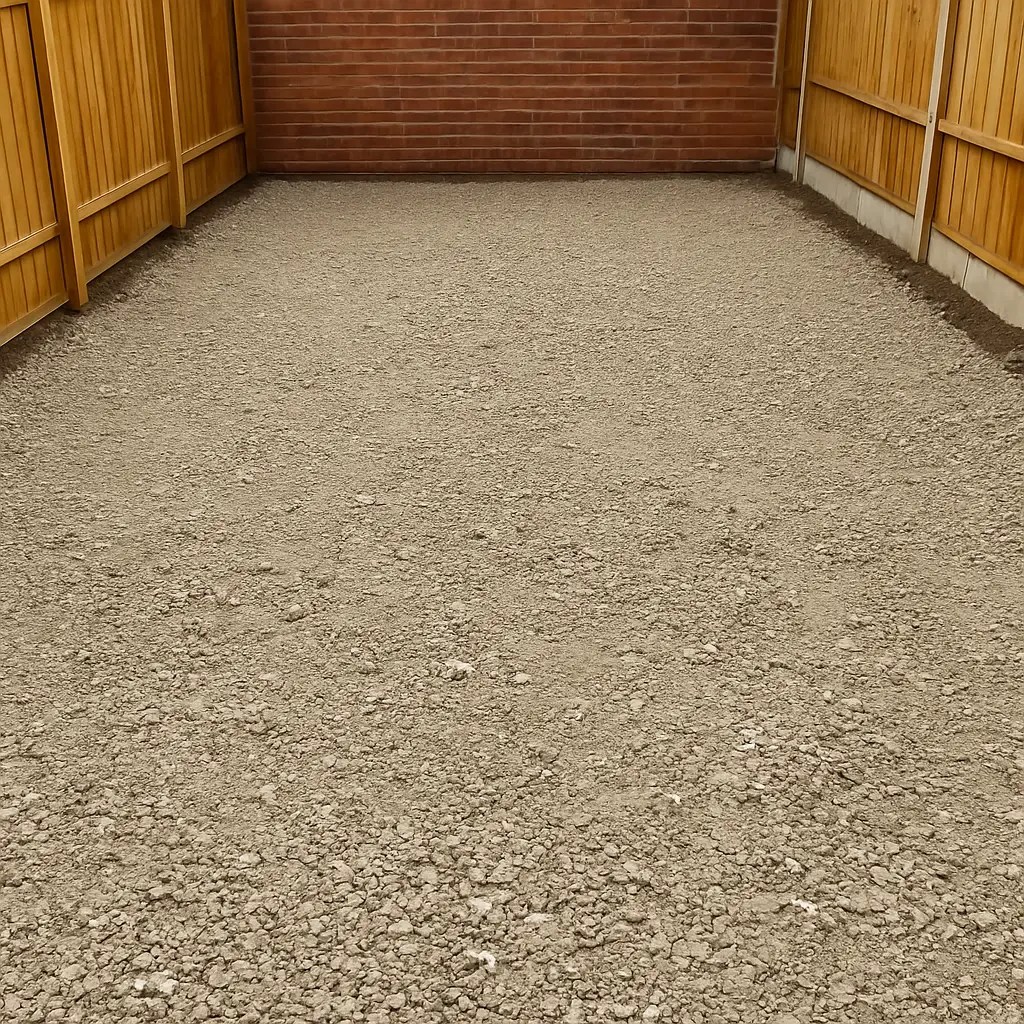
⛏ Step 2 – Preparing the Soil
This is the foundation of How to Lay Slabs on Soil. Unlike methods with hardcore and sand, here the soil itself is the base.
- Remove grass, weeds, or roots where each slab will sit. If you leave them, they’ll rot or regrow.
- Dig a shallow hole about the same size as your slab. Make it just deep enough so the slab will sit flush with the surrounding ground.
- Firm the soil underneath. You can stomp with your boots, press down with the spade, or even splash a little water to help compact it.
This might feel “too easy,” but trust the process. The trick to How to Lay Slabs on Soil is in making each spot snug and stable.
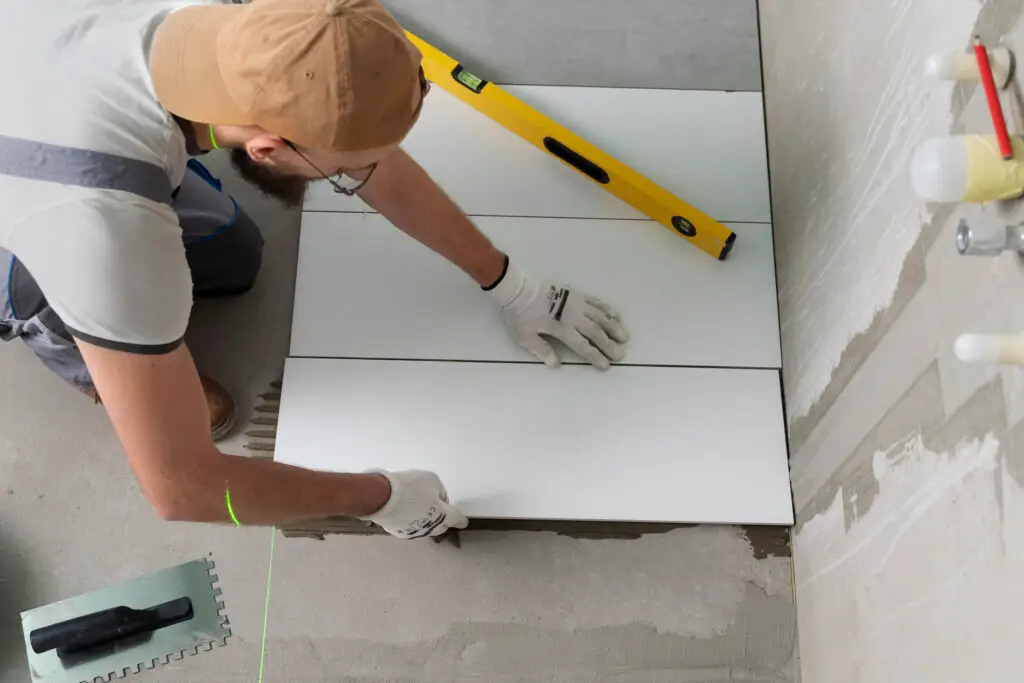
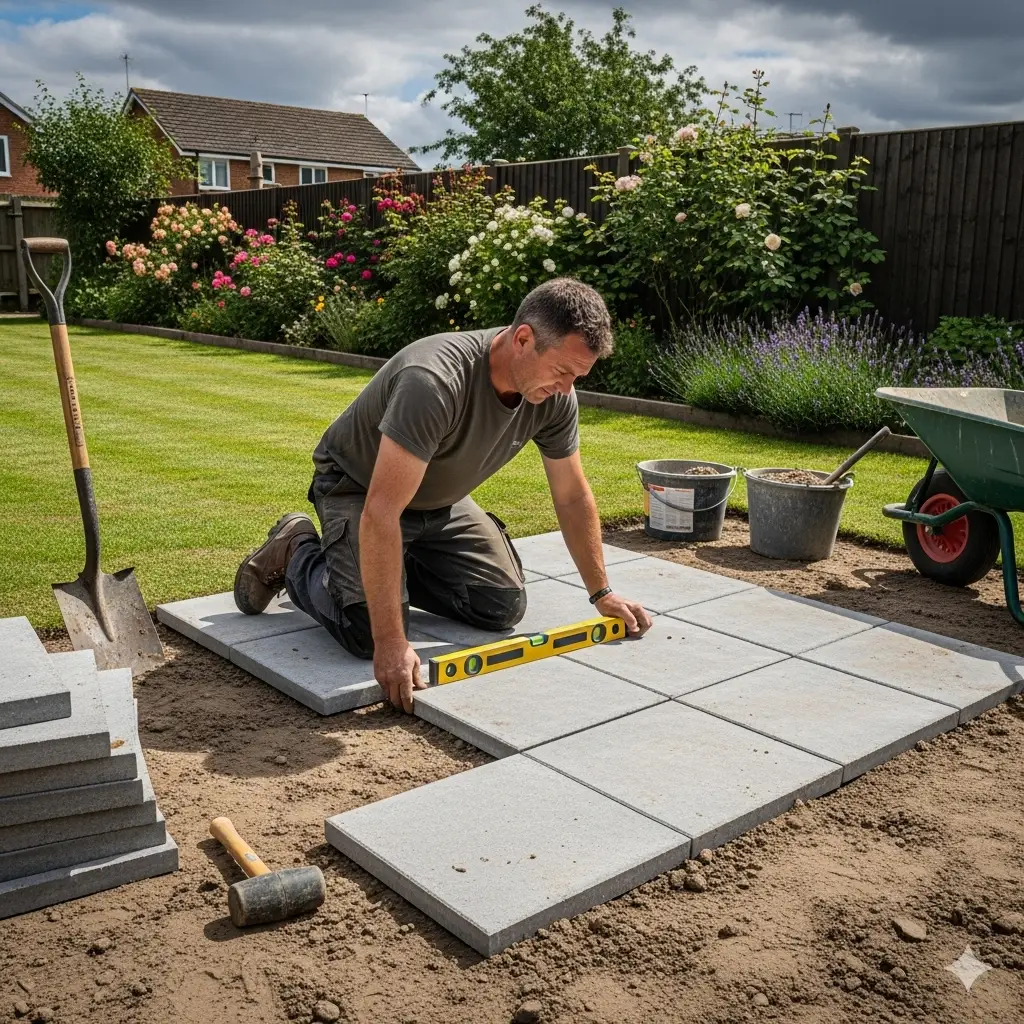
🧱 Step 3 – Laying the Slabs
Now comes the satisfying part.
- Place your slab into the prepared hollow.
- Use a spirit level to check it’s flat, both front-to-back and side-to-side.
- If it’s too low, add a little soil back in and tamp it down. If it’s too high, scrape a little out.
- Once you’re happy, tap the slab down gently with a rubber mallet to bed it in.
Repeat this process, slab by slab. Keep stepping back and looking along the line. This is the human touch in How to Lay Slabs on Soil – small adjustments, trusting your eye as much as the level.
🔄 Step 4 – Spacing & Alignment
There’s no single “right” spacing, because it depends on the project.
- For a stepping-stone path, place them about 40–60cm apart – the distance of a natural stride. Walk it to test. If it feels awkward, adjust before you dig.
- For a continuous path, keep them close together, just touching or with a small gap. The key in How to Lay Slabs on Soil is consistency – uneven spacing looks messy fast.
🌦 Step 5 – Finishing Touches
Once the slabs are in:
- Tread firmly around the edges of each slab. This pushes the soil tight and keeps them stable.
- Lightly water the area. As the soil settles, it grips the slabs better.
- Over the next few weeks, the ground naturally firms around them, locking them in place.
Congratulations, you’ve mastered the essentials of How to Lay Slabs on Soil.
⚡ Why Choose the Soil-Only Method?
Pros
✔ Fast – you can lay a whole path in an afternoon
✔ Cheap – just slabs, no cement or sand
✔ Natural look – blends into lawns and gardens
Cons
✘ Less durable – slabs may shift after heavy rain or frost
✘ Maintenance – you may need to re-level slabs occasionally
✘ Weeds – easier for grass and weeds to creep back
📚 FAQs – How to Lay Slabs on Soil
Can I lay patio slabs straight onto soil?
Yes, but remember: How to Lay Slabs on Soil is best for paths or stepping stones. Full patios are better with hardcore and mortar.
Will slabs move if I lay them on soil?
Sometimes. Soil changes with weather, so expect a little shifting over time. Just re-level when needed.
Do I need a weed membrane when I lay slabs on soil?
Not required, but if weeds bother you, adding one helps.
What’s the easiest way to keep slabs stable?
Make sure the soil underneath is well compacted, and tread around the edges firmly. That’s the heart of How to Lay Slabs on Soil the right way.
🔗 Useful Links
- Internal tool:
- Paving Slab Calculator – plan your How to Lay Slabs on Soil project without running short.
- External guides:
✅ Final Thoughts
How to Lay Slabs on Soil is about balance: you’re not building a fortress, you’re creating something simple, functional, and pleasing to the eye. It’s quick, affordable, and effective, but not permanent. Think of it like a garden haircut – every so often, you’ll tidy it up again.
So, whether you’re laying a winding woodland path or just a few stepping stones to the shed, this guide shows you How to Lay Slabs on Soil the easy way. And before you lift that first slab, check your numbers with the Paving Slab Calculator – because even the simplest projects benefit from a little preparation.