If you want to give your home a major style upgrade—while also adding durability and value—nothing beats walls and floors tiles. From creating a show-stopping kitchen splashback to building a hotel-quality bathroom or a stylish, mud-resistant hallway, tiles offer the perfect blend of beauty and practicality. This in-depth guide explains everything you need to know about wall and floor tile, including choosing the right type, measuring your area, installation methods, advanced tips, common mistakes, and free tools to make the job easier.
🏠 What is Walls and Floors Tiles? Why Is It So Popular?
Walls and floors tiles refers to specially manufactured, flat building materials—usually ceramic, porcelain, natural stone, or glass—fixed to walls and floors using adhesives and grout. Tiles have been used for thousands of years, and for good reason:
- 🦾 Durability: Tiles resist scratches, dents, water, and everyday wear.
- 🧹 Easy Cleaning: Just sweep, mop, or wipe for a spotless finish.
- 🎨 Versatility: Available in nearly any size, colour, and pattern to suit classic or modern tastes.
- 🧴 Hygienic: Tiles are non-porous (when properly grouted), making them perfect for kitchens and bathrooms.
- 💰 Value: Tiling can add long-term value to your property and is often a selling point for buyers.
In the UK and USA, wall and floor tile is a top choice for DIYers and professionals alike—perfect for bathrooms, kitchens, porches, conservatories, laundry rooms, entryways, and even living rooms.
🧱 Wall vs. Floor Tile: What’s the Difference?
- 🧑🎨 Wall Tiles: Usually lighter, thinner, and often have a smooth or glossy finish. They’re designed to be installed vertically and don’t need to withstand heavy weight.
- 🦵 Floor Tiles: Thicker and stronger to support foot traffic, furniture, and impacts. Floor tiles often have a textured or matte finish to prevent slipping.
Pro tip: While you can put a floor tile on a wall, you usually can’t use wall tile on a floor—it’s simply not built for weight.
🟫 Most Popular Walls and Floors Tiles Types (Table)
| 🏷️ Type | ✨ Key Features | 💡 Typical Uses |
|---|---|---|
| 🟫 Ceramic | Affordable, easy to cut, many styles | Walls, light-use floors, splashbacks |
| 🏛️ Porcelain | Denser, waterproof, hard-wearing | Bathrooms, high-traffic floors |
| 🪨 Natural Stone | Unique look, textured, needs sealing | Feature walls, rustic floors |
| 🧊 Glass | Reflective, decorative, bold colours | Borders, mosaics, splashbacks |
| 🎭 Mosaic | Small tiles, mesh-backed, creative designs | Accents, shower niches, features |
| 🪵 LVT/Vinyl | Soft, easy DIY, waterproof, wood/stone patterns | Kitchens, bathrooms, family spaces |
📏 How to Calculate Walls and Floors Tiles Quantities
Accurate calculation is crucial for budgeting, cutting, and preventing expensive delays. Here’s the step-by-step:
- Measure your length and height (for walls) or length and width (for floors) in metres or feet.
- Multiply to get the area for each section, then total them up.
- Example: Kitchen wall 2.5m high x 4m wide = 10m²
- Subtract spaces for windows, doors, or built-in cabinets.
- Add at least 10% for cuts and waste (or up to 15% for patterns).
- Divide your total area by the size of one tile to find how many you need.
🧮 Or skip the math: Use the free Wall and Floor Tile Calculator to get instant, accurate results (metric & imperial).
If you’re working on floors or walls, check out related calculators like the Floorboard Calculator or Plasterboard Stud Wall Calculator.
🛠️ Essential Tools & Materials Checklist
- 🟫 Wall and floor tiles
- 🧴 Adhesive (choose based on tile & substrate)
- 🏗️ Grout
- 🔧 Notched trowel
- ➖ Tile spacers
- ✂️ Tile cutter or wet saw
- 📏 Spirit or laser level
- 🧽 Sponge
- 🪣 Bucket
- 🧤 Gloves & PPE
- 🛡️ Waterproof membrane (for wet areas)
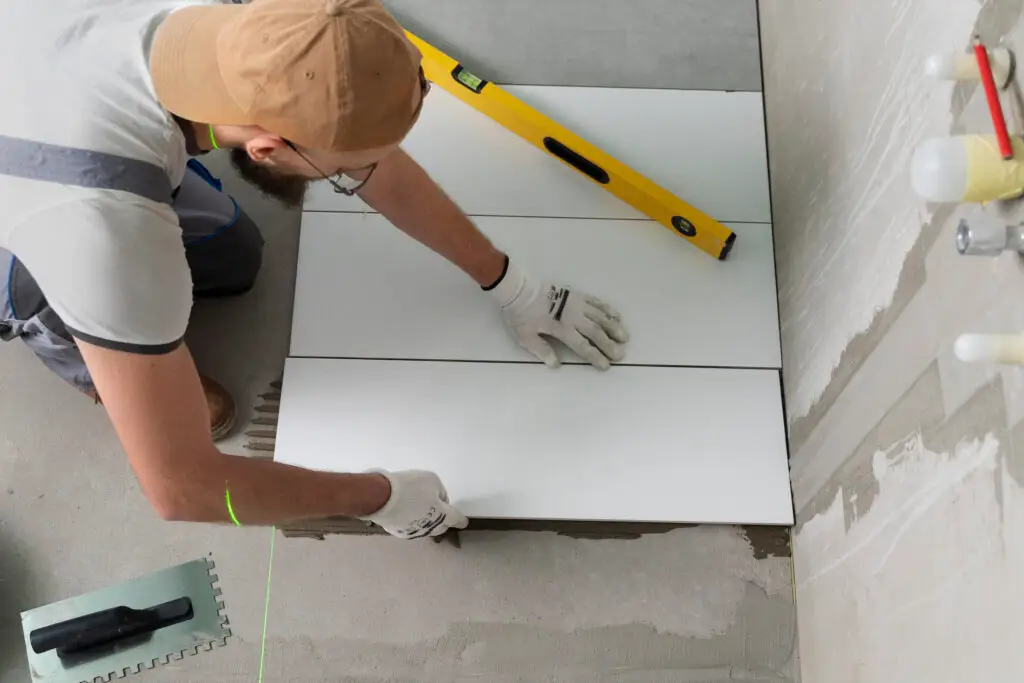
🪚 How to Install Wall and Floor Tile (Step by Step)
- Prep Surface: Clean, dry, level, and prime if needed.
- Dry Lay Tiles: Arrange tiles and spacers for best pattern—avoid tiny edge slivers.
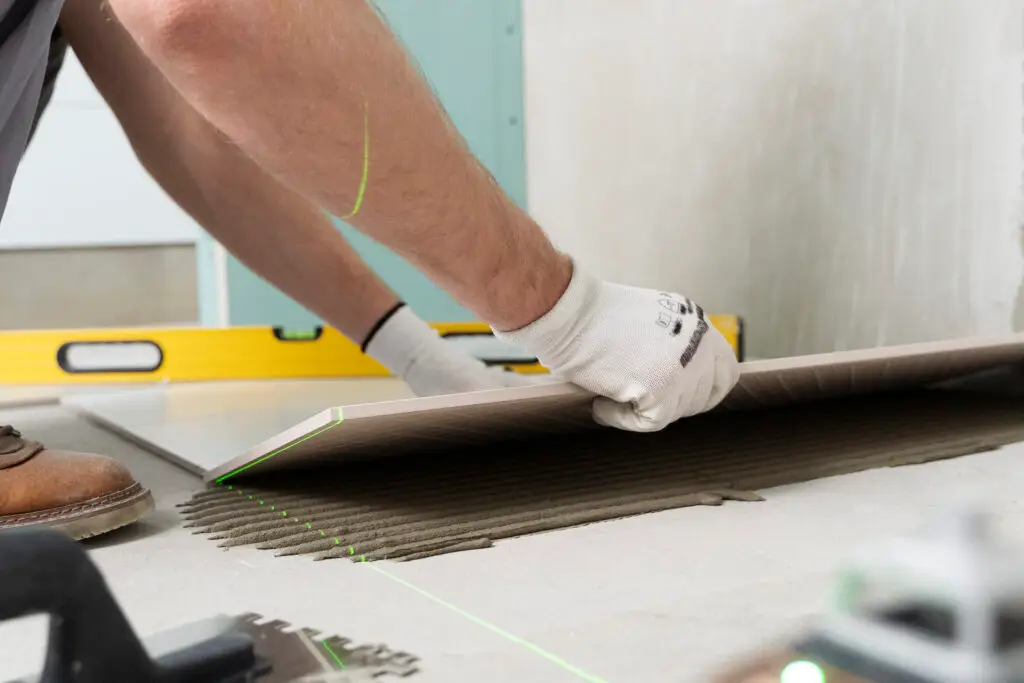
- Mix & Spread Adhesive: Use a notched trowel; work in small sections.
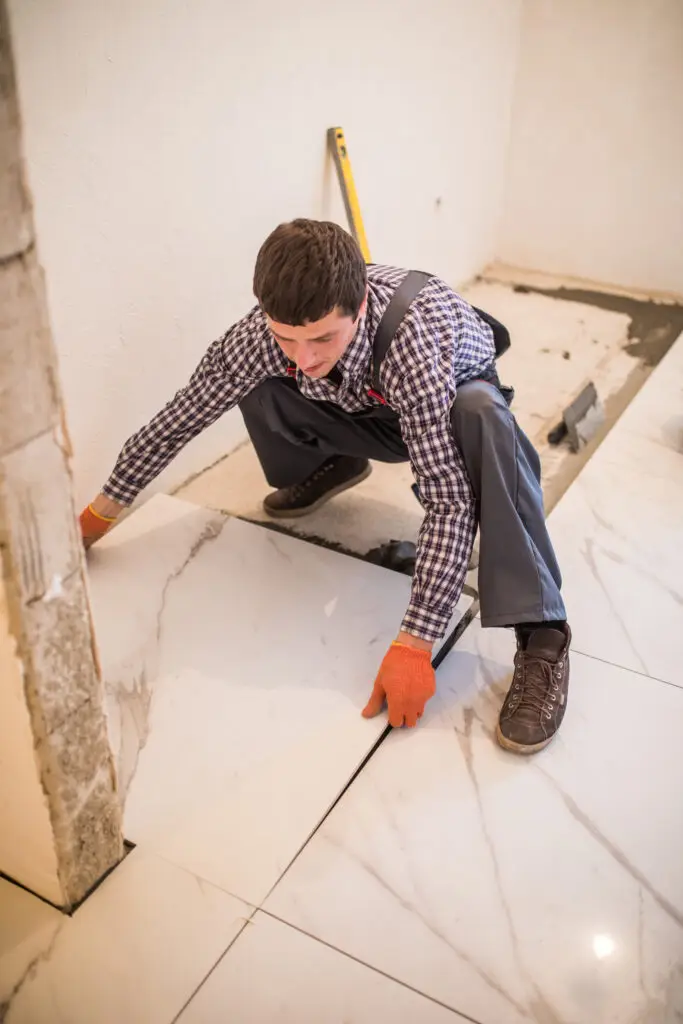
- Lay Tiles: Press tiles in, using spacers for even gaps. Check for level.
- Cut Tiles: Use a tile cutter for straight, a wet saw for curved or thick tiles.
- Cure Adhesive: Let set before grouting (see adhesive instructions).
- Apply Grout: Fill joints, smooth with a rubber float, and clean with a damp sponge.
- Final Finish: Polish tiles and seal grout or stone as required.
🧑🔧 Pro Tips for Perfect Results
- Start tiling from the centre and work outwards for symmetry.
- Use porcelain or textured tiles for slip resistance in bathrooms.
- Mix tiles from different boxes to blend slight shade variations.
- Always check manufacturer’s recommendations for materials.
- Let adhesive and grout fully cure before use or heavy traffic.
⚠️ Common Mistakes to Avoid
- Not prepping surfaces (uneven tiles, loose spots)
- Using wall tiles on floors (they can crack)
- Forgetting to allow for waste and pattern
- Skipping waterproofing in wet areas
- Rushing adhesive/grout cure times
🙋♂️ FAQs: Walls and Floors Tiles
Q: Can I use wall tile on the floor?
A: Not recommended—floor tiles are stronger for heavy use.
Q: How much extra tile should I buy?
A: Add 10–15% extra for cuts and future repairs.
Q: How do I cut tiles?
A: Use a manual cutter for straight lines; a wet saw for tricky shapes.
Q: Is DIY tiling realistic for beginners?
A: Yes, with careful prep and patience—start small to learn.
🔗 Related Calculators & Tools
- Wall and Floor Tile Calculator
- Floorboard Calculator
- Plasterboard Stud Wall Calculator
- Ready Mixed Screed Calculator
- Excavation Volume Calculator
- Sub Base Material Calculator
Construction Dive – Daily news and analysis on commercial and residential building trends and regulation.